Deploying a deno app to Deno Deploy, Render, Netlify, Vercel, Railway
One blessing (and curse) of having my own blog: pure artistic freedom. Last night I said we'll talk about adding a custom domain name to our fly app, in addition to automating the deployment process. Guess what, that's not happening!
Instead we'll talk about deploying the same code to the five services mentioned in the title: Deno Deploy, Render, Netlify, Vercel, Railway
Why would I do such a thing? As a curious person, I want to compare and contrast the offerings of the products in this space. Sadly Heroku and Digital Ocean aren't free, and Cyclic only supports node apps. (not even docker!)
Deno Deploy
This is what this blog is hosted on (at least as of the time of writing this). So in theory I should be well versed in this, right? Plot twist: we'll just use the command line from now on, since I don't want to mess around with any of the services automatically deploying. (Some of them limit the number of build minutes per month in the free tier, which is reasonable.)
The answer: deployctl. This is the Deno Deploy command line utility. A
combination of their documentation and
the readme on their repo should sort
you out. Make sure to properly add your token to your shell environment!
You can head over to the deploy page and create a new project. Don't jump
the gun and link to a repo! (Assuming you're following along.) Instead, try
reading everything: 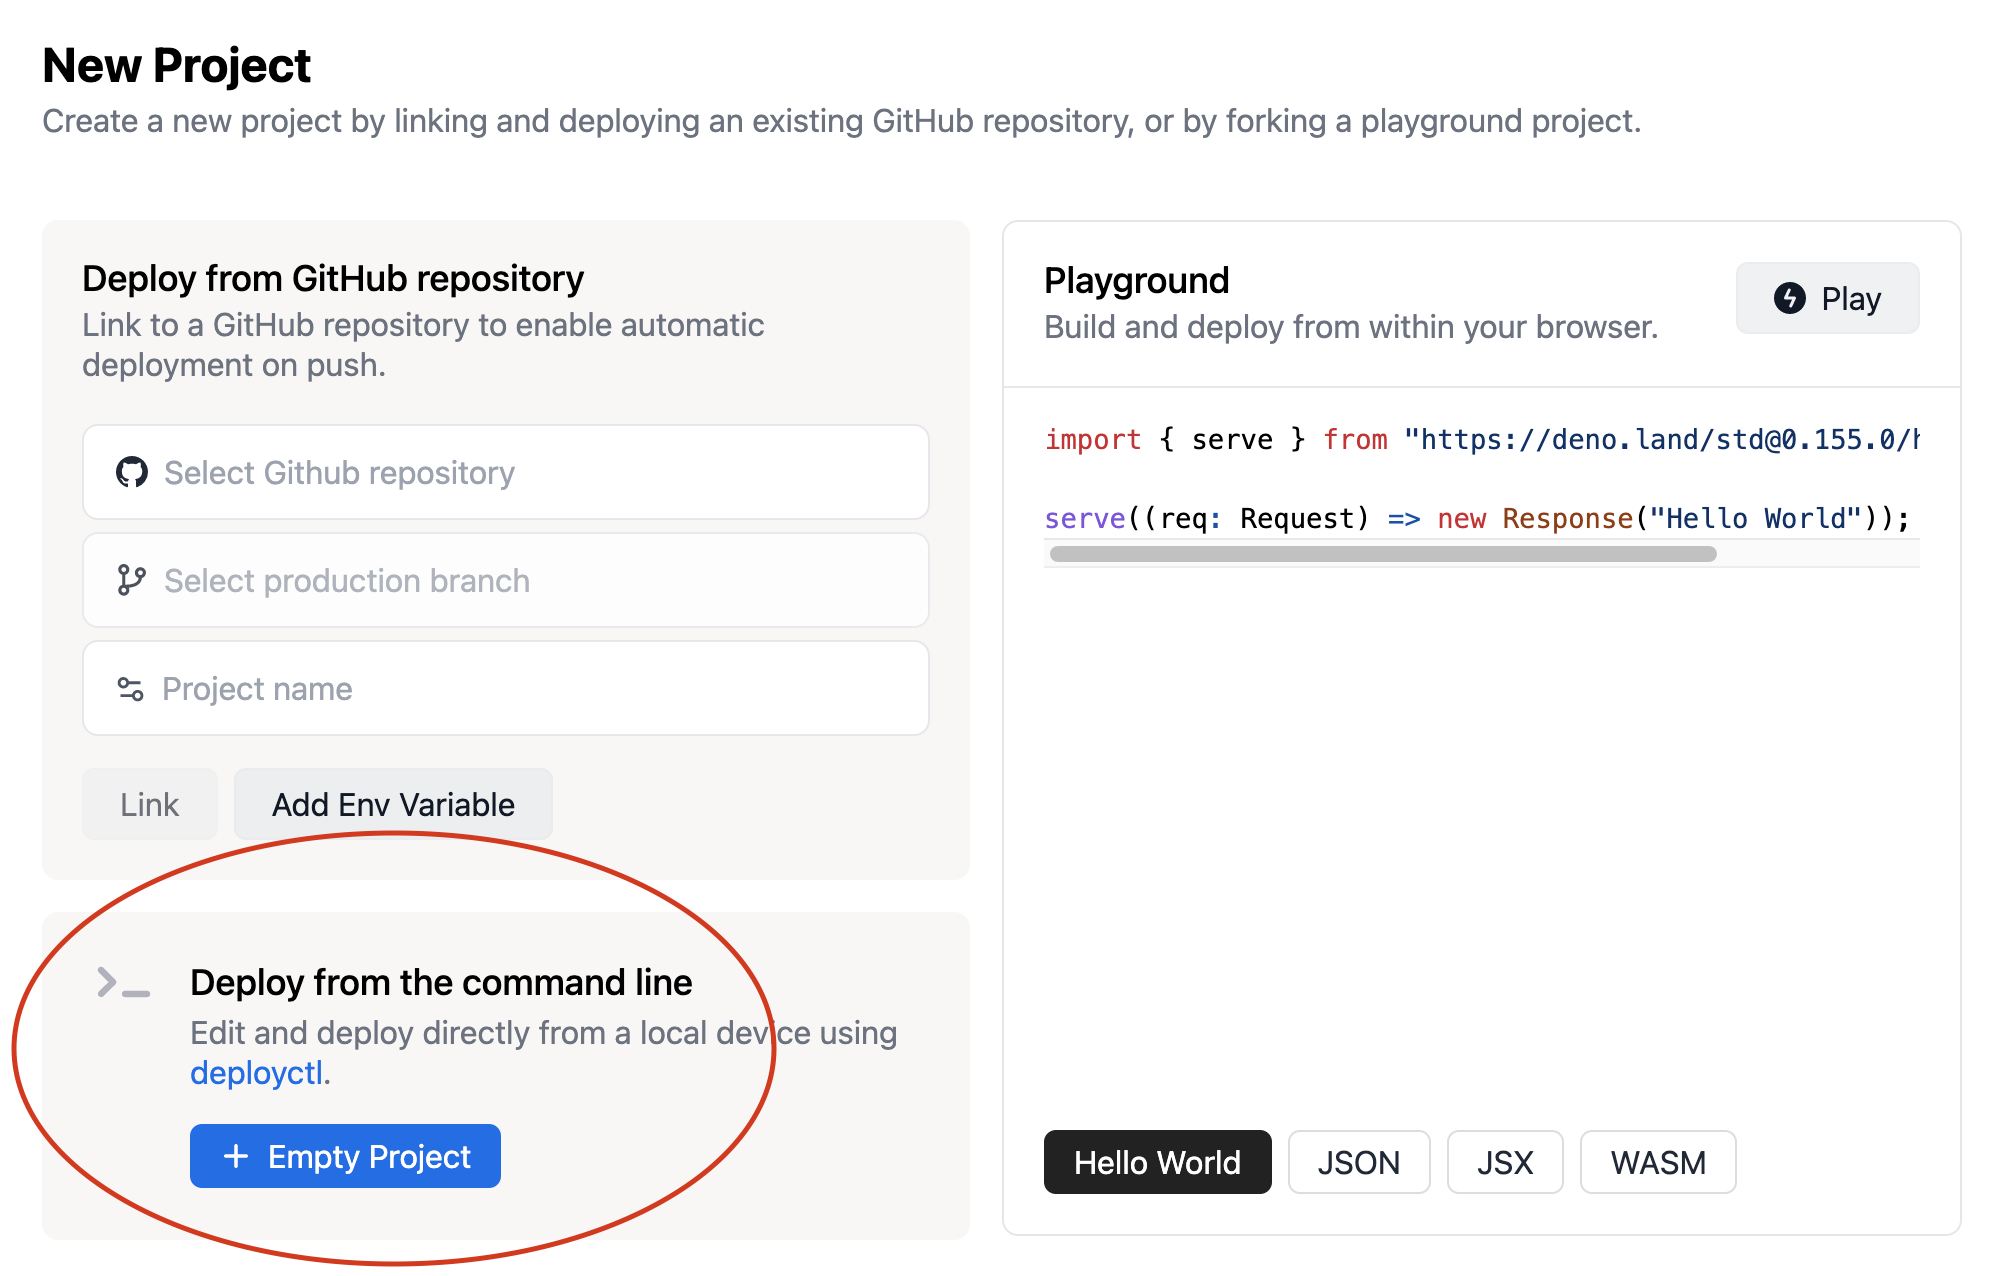
The following will create a preview deployment. Note the --include section,
which prevents it from shipping all the other stuff in your directory. We just
need the one file, thanks.
deployctl deploy --project=my-app-name server.ts --include=server.ts
If you're satisfied, you can try the following for deploying to prod. No code reviews here! Shipit!
deployctl deploy --project=my-app-name server.ts --include=server.ts --prod
Spoiler alert: deno deploy certainly takes the cake in terms of ease of use. (I suppose this is to be expected, considering they've built it to integrate with deno -- sort of in the name and all...)
Render
Render seems to be a competitor to fly.io -- let's test it out.
To get started, you can install the CLI. Look ma, no GUIs!
brew tap render-oss/render
brew install render
As I'm writing this, I realized I should have thoroughly researched the topic. A quick google returned this post, which shows that render doesn't support deno natively (unlike deno deploy). That's fine; they compete with fly.io, so they support docker, and fly only supports docker. Fortunately if you're following along from yesterday, we already have a working dockerfile.
If you're working with fly, you'll need a fly.toml file. Here we'll need a
render.yaml file. Whatever, basically the same thing.
Sadly their documentation about docker is a bit lacking. They have a way to do infrastructure as code (I guess that's what we're doing?) called blueprints, but this is also a bit lacking. Never fear, that's what I'm here for!
If you try to deploy a project with a render.yaml file but don't specify
plan: free, they'll ask you for a credit card. They don't tell you this
though! Ok, enough complaints. Here's what we need.
render.yaml
services:
  - type: web
    name: my-app-name
    env: docker
    autoDeploy: false
    plan: free
Watch for more upcoming disappointment, when you try to launch:
reed@reed test % render blueprint launch
fatal: not a git repository (or any of the parent directories): .git
ERROR Could not find an 'origin' upstream for this repo. Upstreams found:
I haven't found a way to get this to work without being linked to a github repo (to be fair, I haven't tried very hard either: I'm sure you can figure something out if you're motivated). The solution I (cleverly) found is to link it to a github repo and push your code. Although some deeper digging seems to suggest it's currently not possible, since they just released the CLI in early January 2023. Oh well.
Once you create a project in their UI, the rest should be self explanatory.
End of part 1
Here's where we stop for now, since I've suddenly become super tired. You'll see the rest of the three tomorrow!